+ 86 - 20 - 3992 0957
English
HomeEquipment
SK 6000
SK 6000
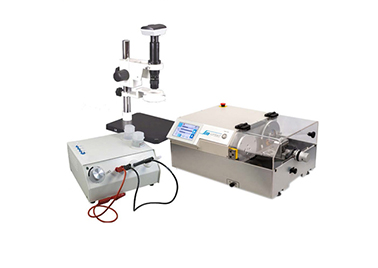
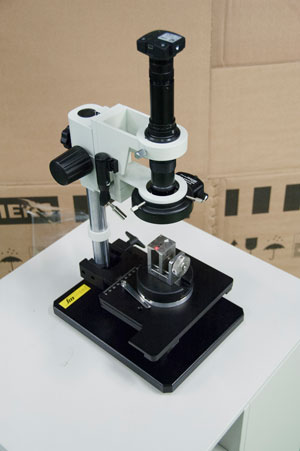
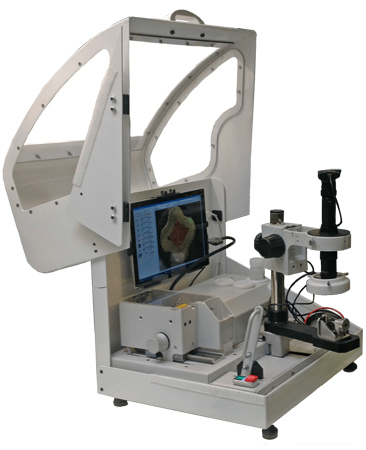
Micrograph laboratory SK 6000 consists of the following separate units: SKT 6000 cutting module, SKE 3000 etching module, and LMX 2000 microscope. This configuration allows measurement of larger components.

First a sample is cut, its cross-section surface is grinded and etched to make necessary details visible, finally it is located under the optics to get macro image and to measure its parameters. The accuracy of the quality assessment is assured by the patented SM Contact sample holder and Viso 6.00 measurement software.

Technical characteristics
  • Power supply
    230 V / 50 Hz
  • Power
    350 W
  • Protection type
    IP 20
  • Cycle time
    3-5 min.
  • CE conformity
  • Cutting module SKT 6000
  • Cutting speed
    600-3000 rpm
  • Grinding speed
    300-1500 rpm
  • Dimensions (W x D x H)
    230 x 545 x 510 mm
  • Weight
    25,1 kg
  • Etching module SKE 3000
  • Min. etching strength
    0,35 A
  • Max. etching strength
    3,15 A
  • Electrolyte
    AE 7 + CE 1
  • Dimensions (W x D x H)
    250 x 210 x 125 mm
  • Weight
    6,5 kg
  • Microscope LMX 2000
  • Zoom ratio
    1:65 (0,7x -4,5x)
  • Total Magnification / Field of view
    10x -68x / up to 35 mm
    15x -101x / up to 23,5 mm
    20x -135x / up to 17,6 mm
  • USB camera
    IDS UI-3580LE-C-HQ
  • Dimensions (W x D x H)
    320 x 300 x 475 мм
  • Weight
    10 kg
STANDARD FEATURES
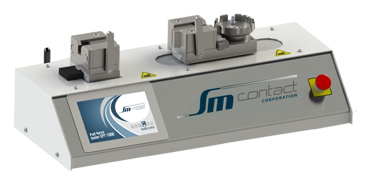
  • Cutting module SKT 6000 with automatic cutting feed
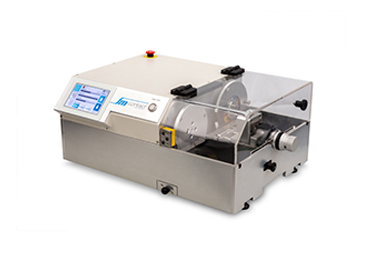
    Cutting module SKT 6000 with automatic cutting feed
    This module consists of a cutting wheel, grinding wheel and a transport carriage. To start the process operator places a sample into a sample holder and a sample holder into the carriage. As soon as a protective cover is closed, the discs could be launched. Carriage is automatically moved between the discs and its proximity to the disk is adjusted with a feed screw. The cutting and grinding module rotational speed can be separately regulated from 300 to 3 000 rpm. Cutting speed and pressure remain constant. Damage of the sample is thereby prevented.
  • Innovative sample holder
    Innovative sample holder
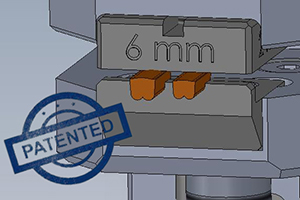
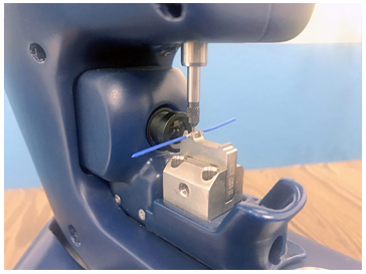
    Brand new holder by SM Contact has interchangeable jaws adapted to corresponding connection.
    Its shape precisely follows the shape of a sample, while special stop block fixes the sample at the same horizontal axial position. As a result perpendicular sample position and proper cut guarantee valid measurement results.
  • Etching module SKE 3000
    Etching module SKE 3000
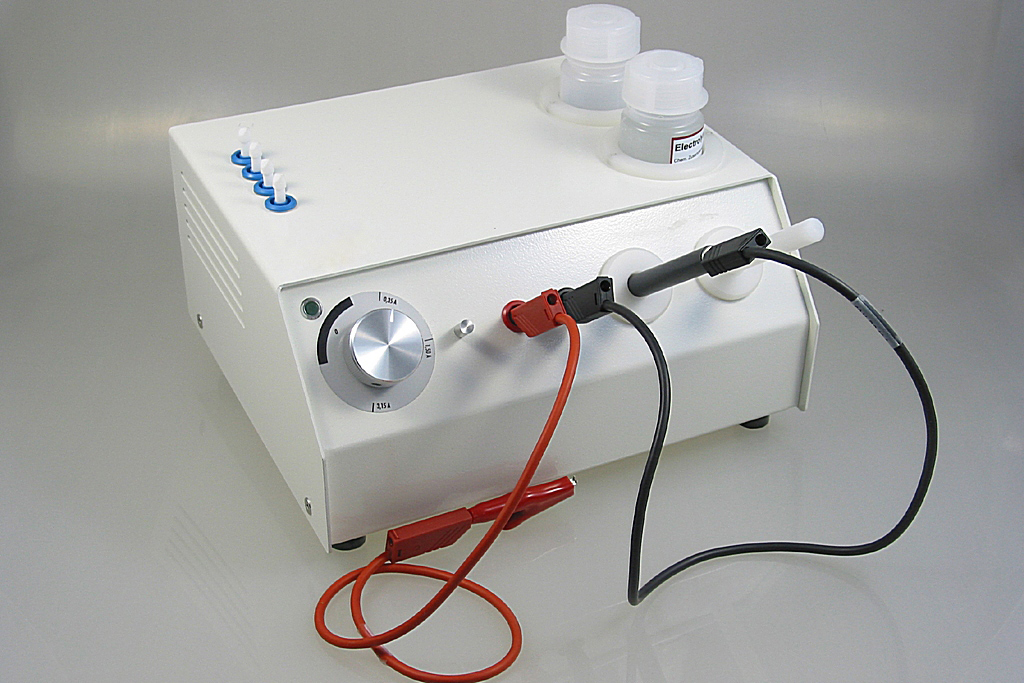
    Etching is necessary to make relevant details of a cross-section more visible. The current is applied to the sample holder and a felt pen dipped in electrolyte is used as a cathode.
    Two different electrolyte solutions are supplied: a slightly acidy and a neutral solution. Etching strengths are available from 0,35 A to 3,15 A. LED light indicates that etching is on.
  • Microscope LMX 2000
    Microscope LMX 2000
    Prepared sample is located under the microscope to capture the image to be measured. 5x optics is equipped with LED lightinh and a shutter. Zoom lens with USB camera transfers the image to the standalone PC.
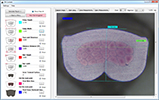
  • Viso 6.00 measurement software
    Viso 6.00 measurement software
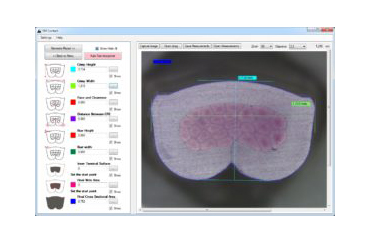
    Captured image is measured with a help of special software – Viso 6.00. Operator chooses the parameters to measure, its reference values and performs the measurement on a cross-section image: measurements with appropriate presets or comparison to the Control list.
    It also provides dimensions detection and data export to PDF format.
  • Supply kit
    Supply kit
    All the necessary spare parts and consumables are included into supply kit: abrasive papers, cutting disks, etching pen inserts, electrolyte, crossline reticle etc. It is also available on stock on tooling.smcontact.eu
OPTIONS
  • Special optics for microscope
    Special optics for microscope
    Optics 0,75x and 0,5x for microscope are available upon request to change operating distance from the sample to the optics.
  • Viso 6.00 automatic quality control
    Viso 6.00 automatic quality control
    All the measurement results could be automatically uploaded to Customer‘s private area in SM Cloud data storage. If they diverge from the Control list, SM Contact engineers get a signal and provide Customer with the assistance.
  • SM CONTACT FRANCE
    Headquarters est. 1986
    +33 (0) 1 64 63 66 66
    Fax +33 (0) 1 64 63 67 22
    smcontact@smcontact.eu
    20-22 voie Gallo Romaine
    77860 Quincy-Voisins, France
  • SM CONTACT ASIA
    Asian subsidiary est.2008
    +86 20 3992 0957
    info@smcontact.cn
    #5-#8, building A7,Huachuang Industrial
    Park,9 Huateng RD, Shiji Town,
    Panyu District,Guangzhou,China
  • SM CONTACT ENGINEERING
    Russian & CIS subsidiary est. 2011
    +7 (812) 980 97 93
    info@smcontact.ru
    21 lit. A Basseynaya Street
    196191 Saint Petersburg, Russia
  • SM CONTACT GmbH
    German subsidiary est. 2015
    +49 89 693 30812
    sales_de@smcontact.eu
    Alte Landstrasse 25
    D-85521 Ottobrunn, Germany
  • SM CONTACT SPAIN
    Spanish subsidiary est. 2017
    +34 645 22 62 37
    smcontact@smcontact.eu
    Carrer de Vilafranca, 7
    08024 Barcelona, Spain
  • SM CONTACT TECH
    Baltic subsidiary est. 2018
    +372 56 829 870
    orders_smct@smcontact.eu
    Kadastiku 57A
    21004 Narva, Estonia
  • Guangzhou Geulu Equipments for Electronic Products Co,Ltd
  • #5-#8, building A7 Huachuang Industrial Park , 9 Huateng RD, Shiji Town, Panyu Dist, Guangzhou , China
  • +86- 20-3992 0957

    info@smcontact.cn

    www.smcontact.cn

© SM Contact 2019 粤ICP备20018780号
PARTNER ACCESS
I have read the Privacy and Cookies policy and consent to the collection, processing and use of my personal data.
PARTNER REGISTER
I have read the Privacy and Cookies policy and consent to the collection, processing and use of my personal data.
*Required fields
REGISTER